About Secure Messaging
Secure Messaging from Sesame allows you to exchange messages with your colleagues in a secure, HIPAA-compliant encrypted environment without sending any PHI via email.
Secure Messaging works like a private webmail service. You use the list of colleagues in your Practice Management System (PMS) to populate your Secure Messaging Address book. When you send a secure message to a colleague for the first time, they will receive an invitation to set up a free secure messaging account and reply to your messages.
Secure Messaging can be accessed from:
https://portal.sesamecommunications.com
Contacts
Importing Colleagues
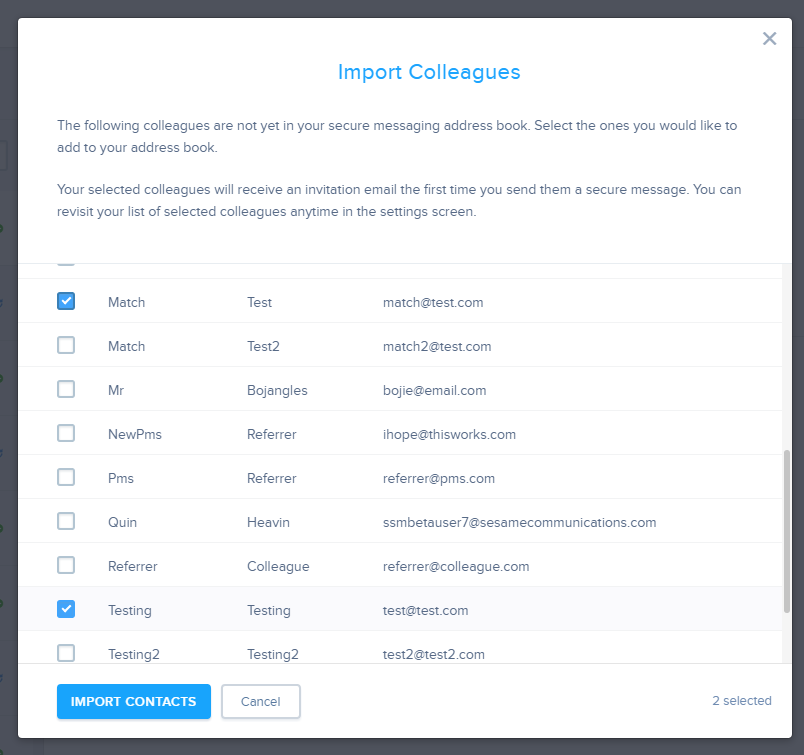
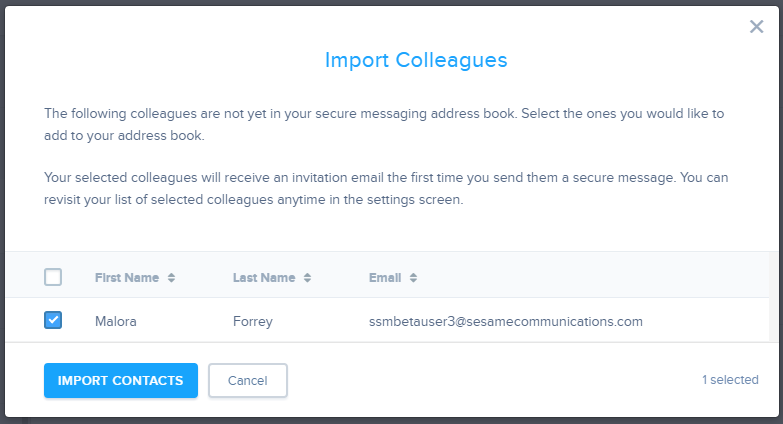
The first time you visit Secure Messaging, you will start by importing some colleagues from your Practice Management System (PMS). Select the ones you would like to import and click “Import Contacts”:
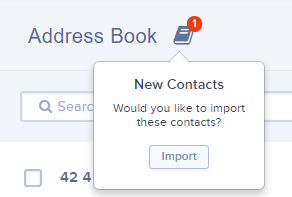
You can revisit your colleague list again anytime by clicking the PMS import icon in your address book:
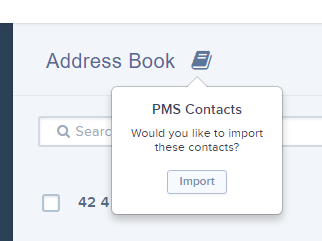
Whenever a new colleague is entered in your PMS or Sesame, Secure Messaging will recognize the change and offer you the option to import the new colleague into your address book.
Inviting colleagues
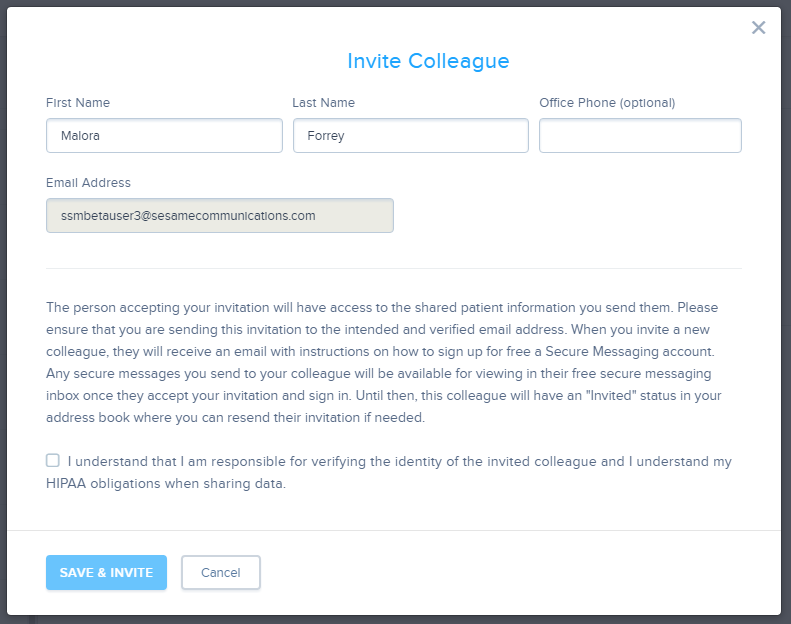
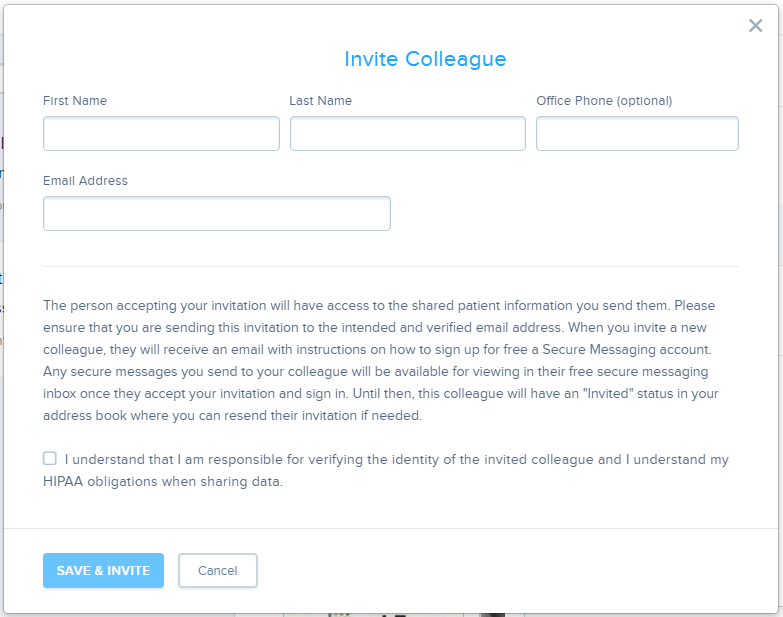
After the desired colleagues has been imported, you can send them a new secure message. At this time an invitation will be sent to the colleague to set up their free secure messaging account. A verification screen will pop up to give you a chance to double-check the colleague information before the invitation is sent:
You can also send an invitation to your colleague manually by clicking “Invite Contact” from the address book:
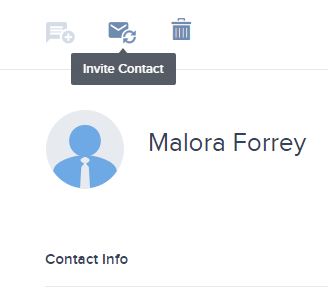
You can tell which of your colleagues have accepted your invitation by their status in your address book. Colleagues who have accepted your invitation have a “Guest” or “Member” status and a green “New Message” icon. Colleagues that have not signed up for Secure Messaging yet have a blue “Send Invitation” icon.

Messages
Navigating your mailbox
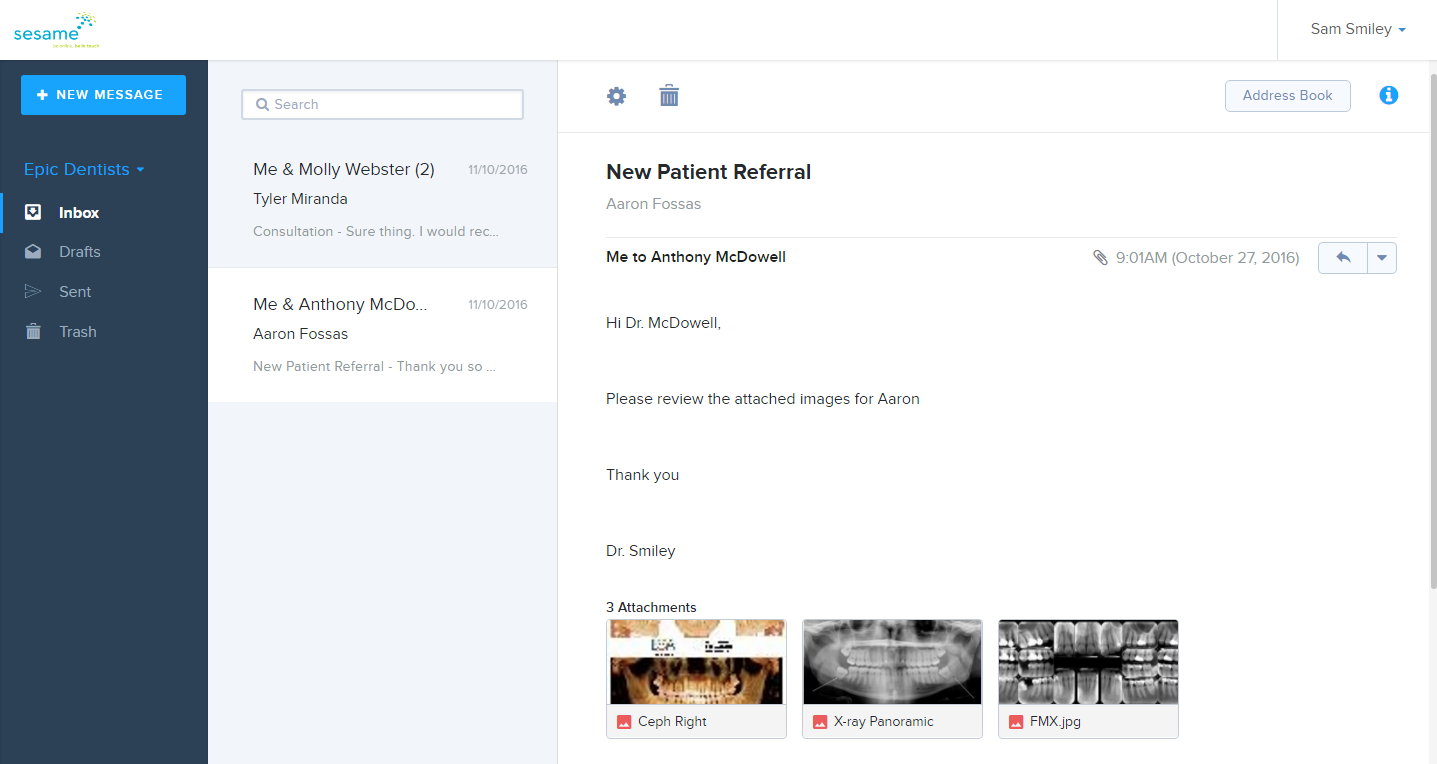
Your inbox is where you can see all the secure messages that you have received from colleagues.
You can use the folders listed on the left to navigate between your Inbox, Drafts, Sent Messages, and Trash.
Click on a conversation thread in your conversations list to select it. This will display the messages in this thread in the right pane.
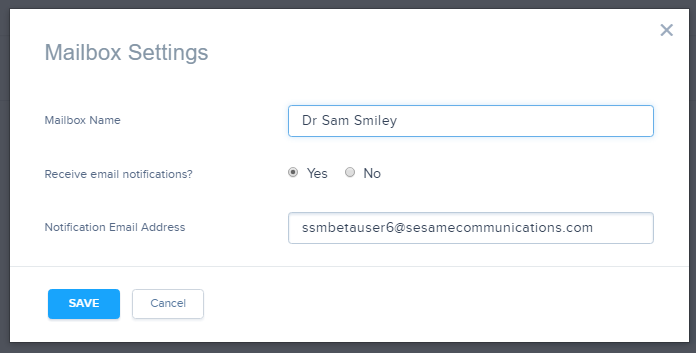
Mailbox Settings
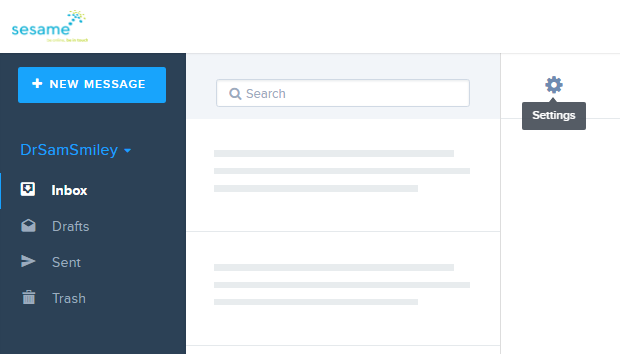
You can change your mailbox name and email notification preferences by clicking the mailbox settings icon in your mailbox view:
Composing a message
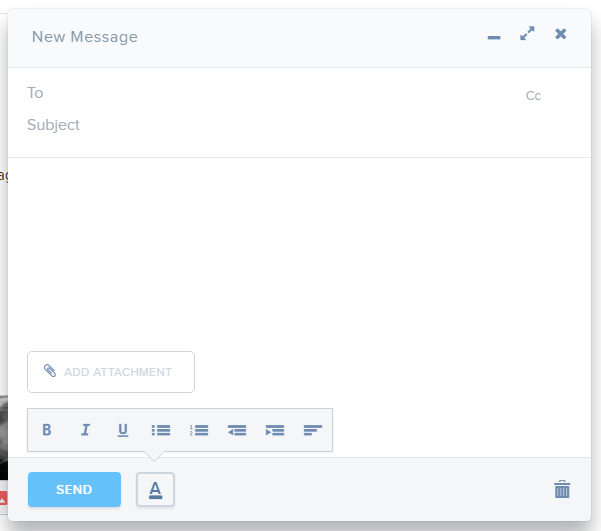
To create a new message, click the “New Message” button at the top of the left navigation panel:

A new message dialog will appear
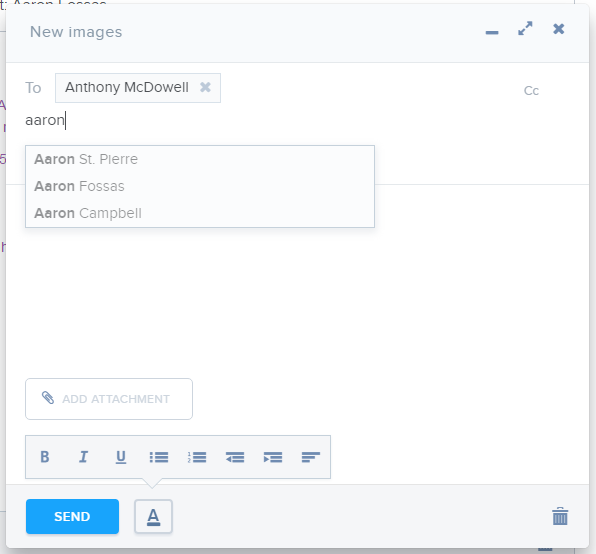
Start by typing a colleague name, to whom you want to send a message. Secure messaging will search your contacts as you type.
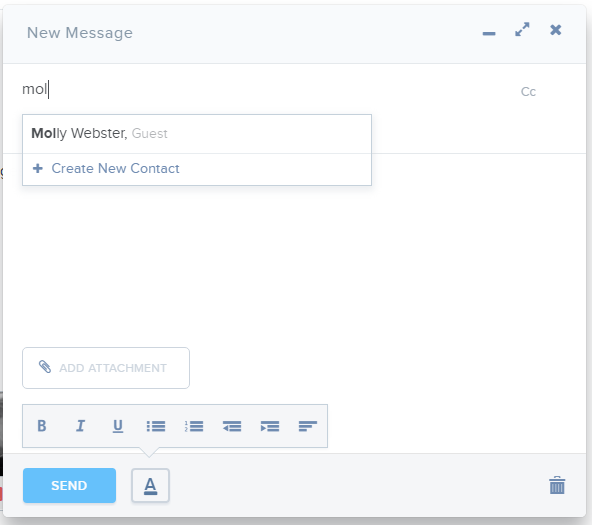
Note, that contacts you have imported into Secure Messaging will appear right away. However, if you cannot find your colleague on the list, you may not have imported them from your PMS yet. After a brief delay, you will be shown an option to see a list of PMS colleague contacts that have not been imported in case you wish to import them on the fly.
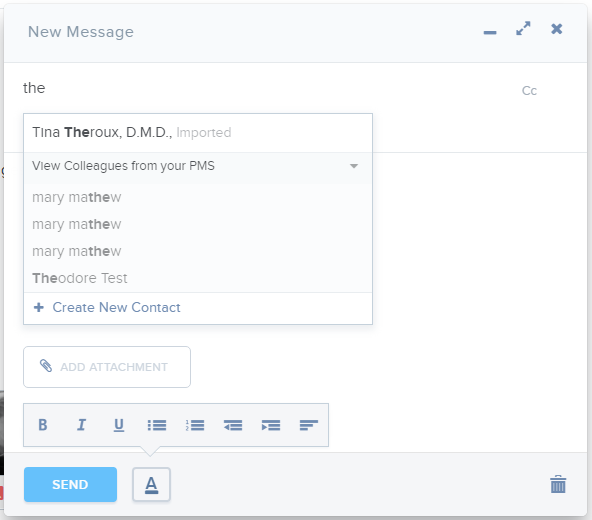
If you still cannot find the correct colleague on the list, you can click “Create New Contact” to manually add a new colleague to your address book without leaving the message screen (Note, colleagues you add in Secure Messaging do not copy back to Sesame or your PMS):
Next, select a patient that you are communicating about by typing their name in the “Regarding Patient” Field. Your PMS patient list will be searched for the patient as you type. The patient’s date of birth will be displayed to make your selection easier.
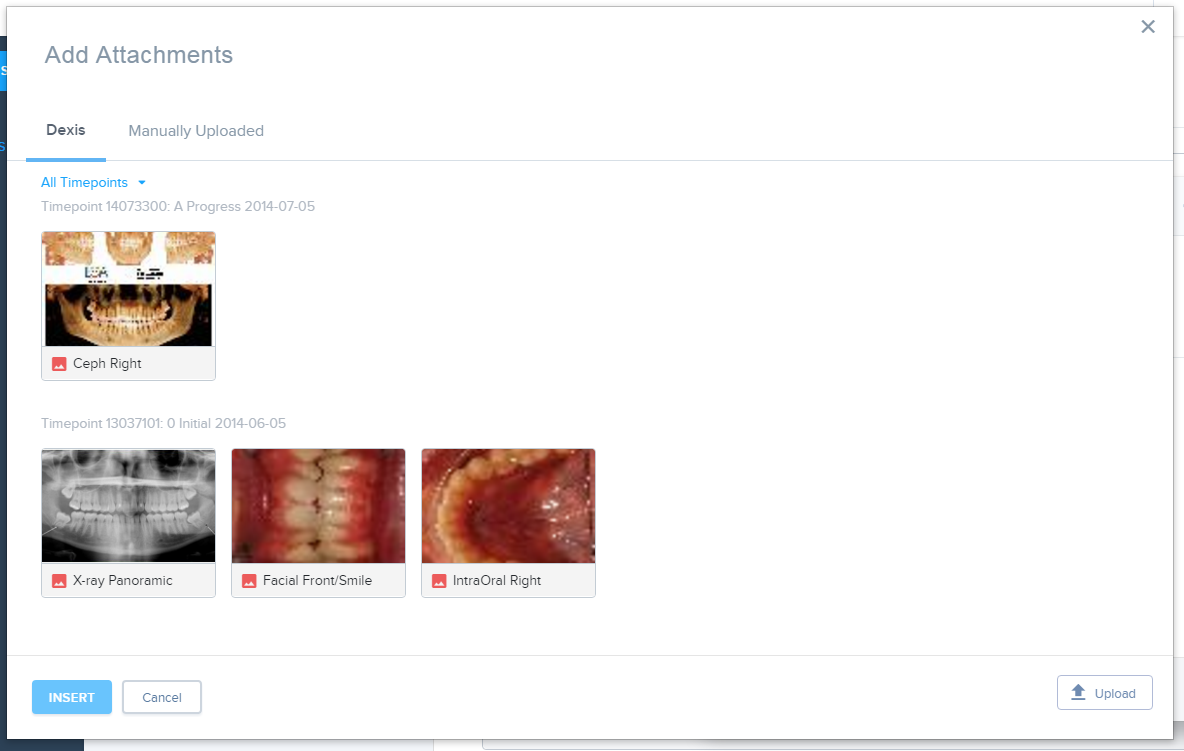
Now you can specify your message subject and body. If you need to add images to your message, click on “Add Attachment”.
If you have a compatible imaging system, you will be able to attach images from imaging system:
Even if you do not have a compatible imaging system, you can still attach images from your computer by clicking “Upload:
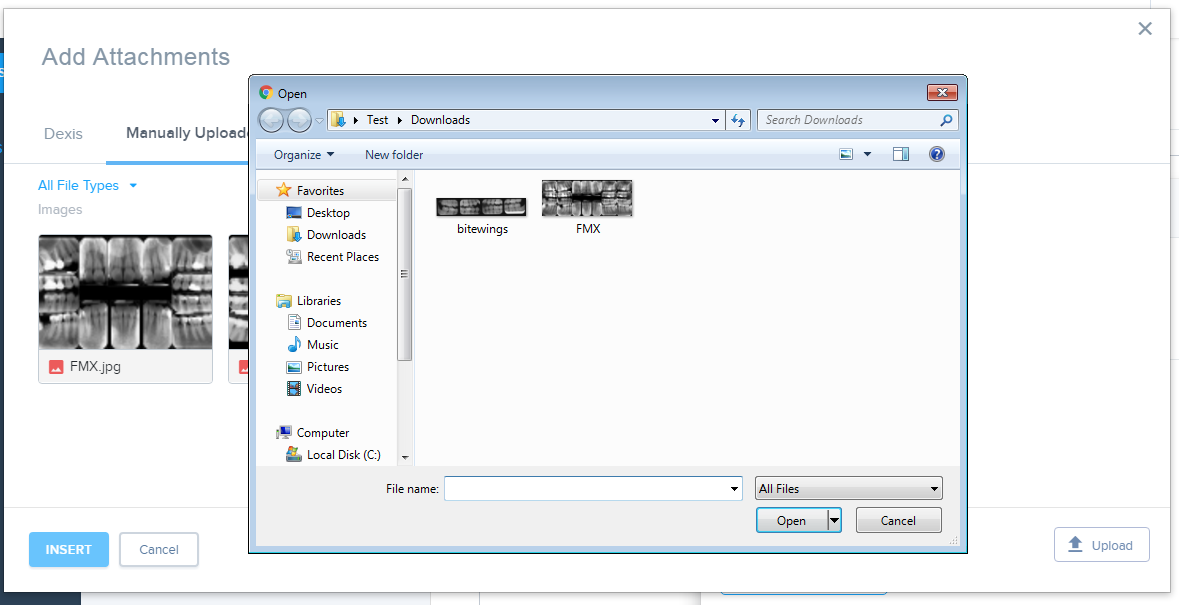
Note: You can upload most file types to your message (up to 15Mb each). However, some dangerous file types, such as executable files, are not allowed. If you need to send a file type that you feel is safe and are unable to, please contact Member Services at 866-537-8272
When you are done composing your message, click “Send” and your colleague will receive a new secure message in their mailbox as well as an email notification that a new message is ready for them to view.
Managing Your Account
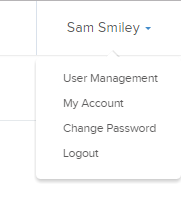
You can access your account management options by clicking your username at the top right of the Secure Messaging screen:
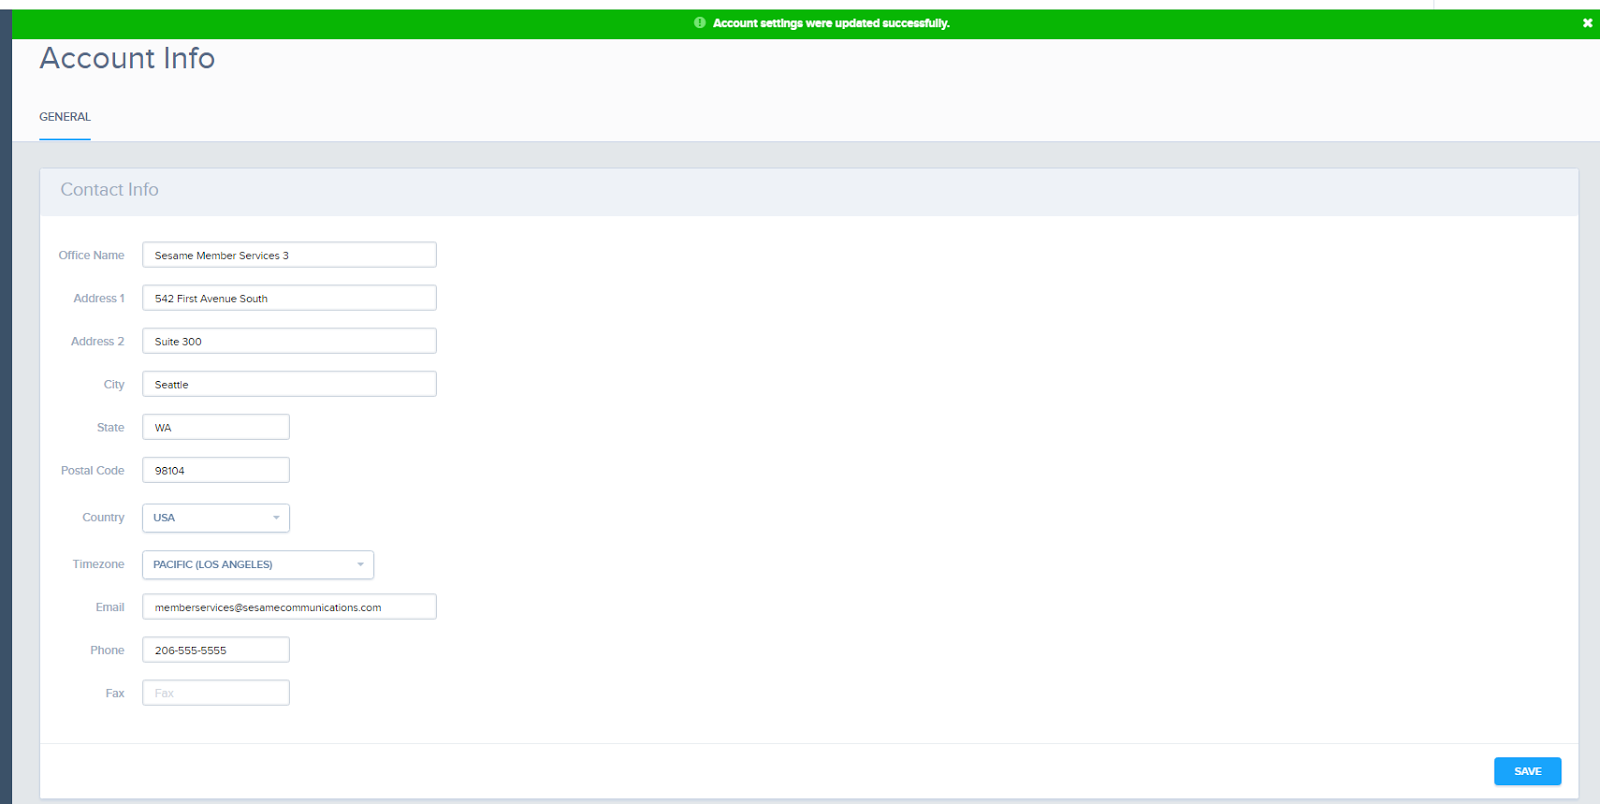
Updating account information:
On this screen you can change your Secure Messaging account information
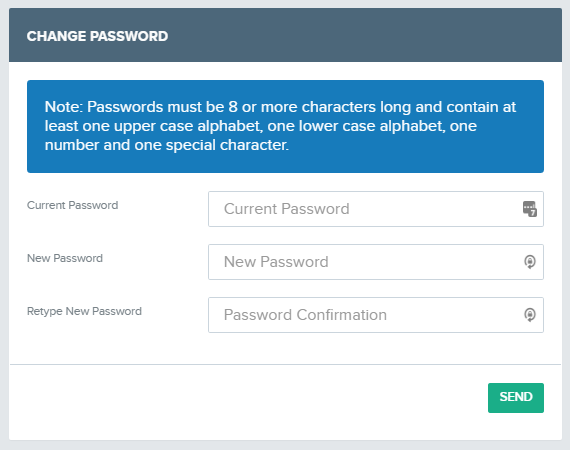
Change password:
If you want to change your password, you can do so on this screen
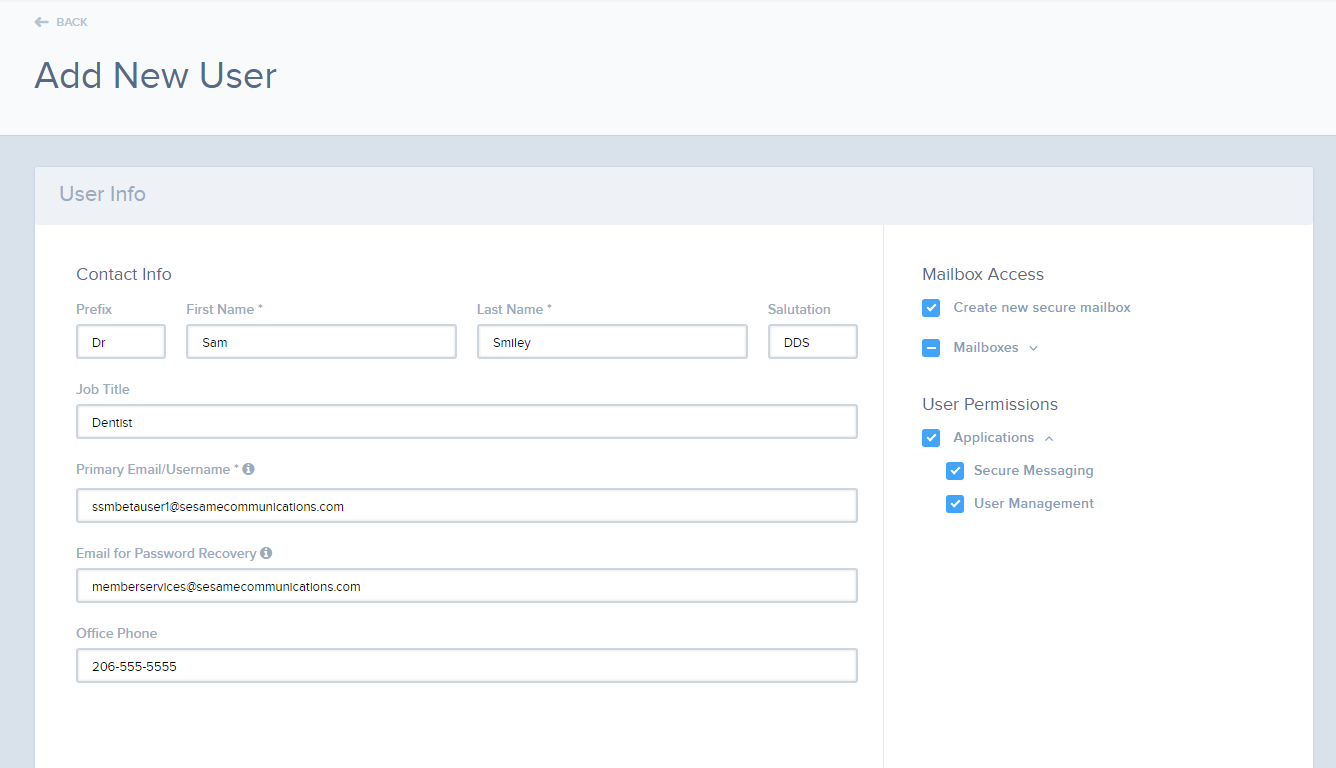
Managing Users
On this screen you can add additional users to your practice. You can optionally assign them their own mailbox and/or give them access to existing practice mailbox. Note, that by selecting “User Management” under “User Permissions”, you will give the new user the ability to manage other users (administrative rights).
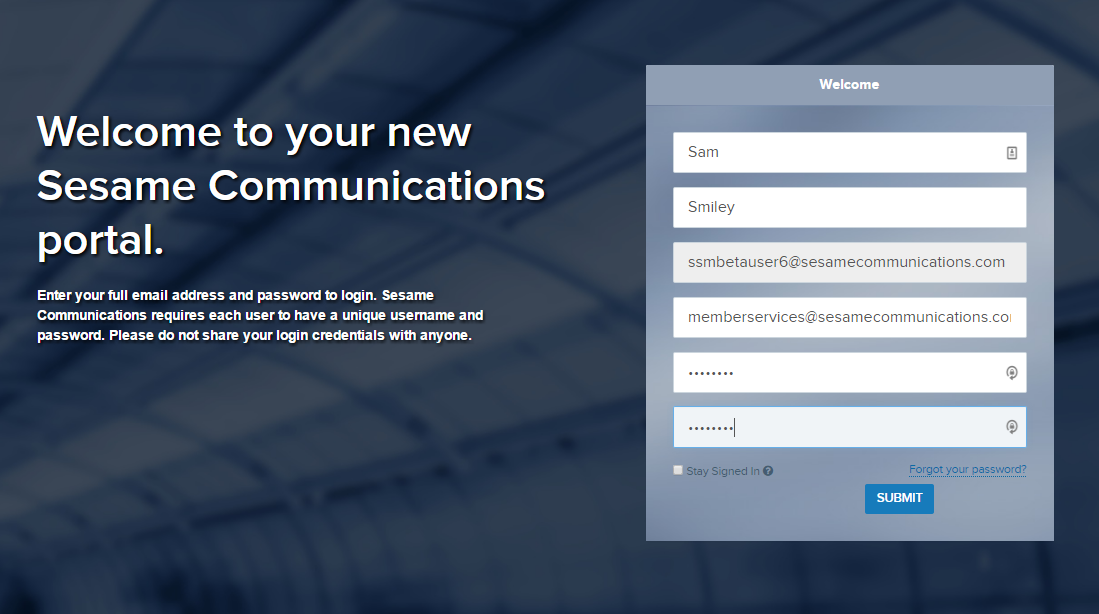
The new user will receive an email inviting them to set up their account:
Our Member Services team is available Monday through Friday, from 6:00 AM until 5:00 PM Pacific. You can reach us Toll Free at 866 537-8272 (outside of North America, dial +1 206 458-7700) - or use our Contact Form to send us an email.