Editing an Email Message
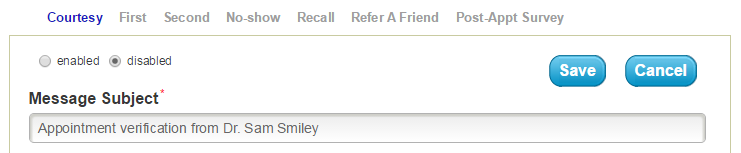
To start editing an email message you will need to locate the message under the appropriate navigation tab. When the message loads, you will see that the first option on the page is the setting to enable or disable the message. You can use this option to turn automatic delivery on or off for individual messages and reminders.
For First, Second, and Recall reminders, the first option on the page will be a drop-down menu to select your reminder type. You will also see an Edit Schedule button on your First and Second reminders. This button can be used change the delivery schedule for these reminders.
To the right you will find the Save and Cancel buttons. When you’re finished with your changes, be sure to click Save, but you can use the Cancel button if you decide you don’t want to keep the changes you have made.
Message Subject
The Message Subject is a required field for all email messages. Your email messages will include a default subject, but you can update the subject by simply clicking in that field and typing a new subject.
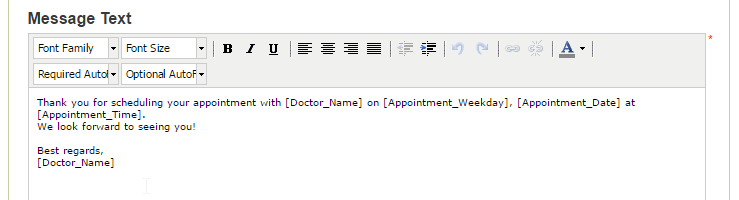
Message Text
Below the Message Subject is the body of the email, or the Message Text. You can make simple changes to the body of your message by clicking in the text box and typing. Above the text box you will find some simple formatting tools that you can use to change the font face, size, and color; add font effects such as bold, italics, or underline; or change the alignment of your text so you can have your message aligned to the center, left, or right of the email.
Just below these tools are the drop-down menus for the AutoFills available for this message. Each message has at least one required AutoFill that should be a part of the email message by default. If there are optional AutoFills, these will be available from that drop-down menu. Adding an AutoFill is as easy as placing your cursor in the Message Text field where you would like to use the AutoFill, and selecting the desired AutoFill from the drop-down list.
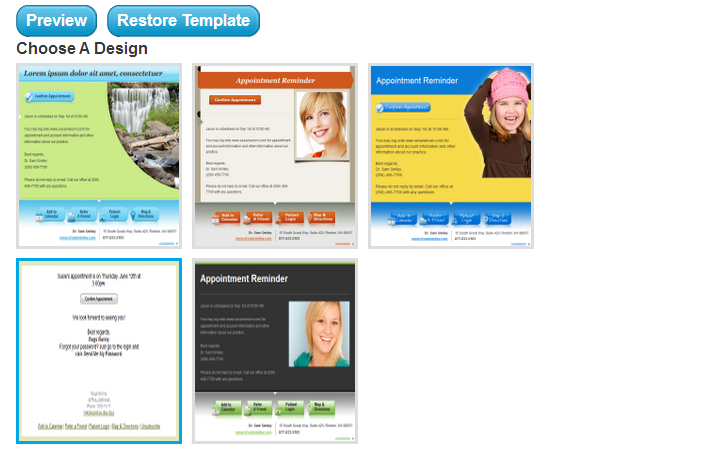
After you have updated the text of the email to your liking, you can opt to choose a design for the message. There are several themes available from which you can choose, including one that has your office banner. Click on the design you desire in order to apply it to your message.
Preview
You can use the Preview button to see how your email will appear when it is received by your patients. Keep in mind that AutoFills only work when the email is assigned to a patient, and there is information to use in those fields. When previewing a message, you will not see the AutoFills replaced with actual names or dates.
Restore Template
The Restore Template button can be used to restore the default template for your message. This will erase any changes you have made to the message text and formatting.
Response Options
The last option on the page is for the links that will appear at the bottom of the email message. For each email message, you can choose which of these links you feel are appropriate for that message. You can choose to include links that allow patients to add their appointment to their calendar, provide them with a map and directions to your office, refer a friend to your practice or log in to their Patient Pages.
Once you have completed your changes, be sure to scroll back up and click on the Save button.

Members of our support team are available Monday through Friday, from 6:00 AM until 5:00 PM Pacific. You can reach us Toll Free at 888-416-8431.