OrthoMation
If your office uses OrthoMation, you can have it enabled in our system, so your patients can view OrthoMations in their Patient Pages.
Need to have OrthoMation enabled? Contact Member Services to find out how.
Setting up OrthoMation
To set up OrthoMations for a patient, type a patient name into the Quick Search under the Patient tab, then go to the OrthoMation section under Patient Information.
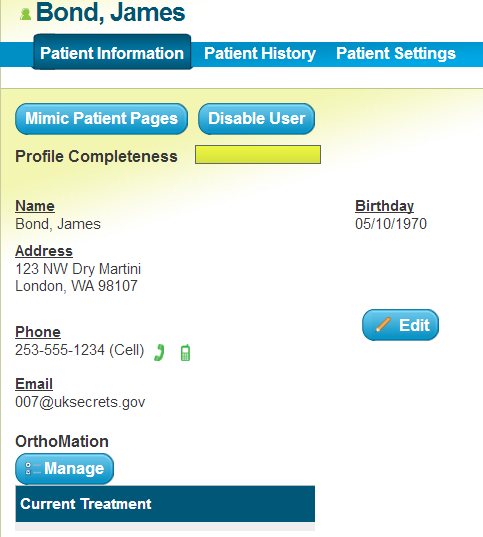
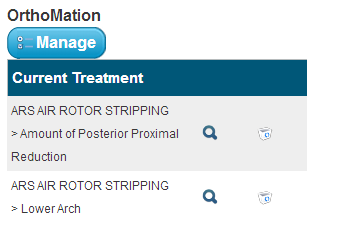
By clicking the Manage button you see a list of available treatment options, and which of those are currently assigned to the patient. There are many treatment options available; clicking the arrow next to a treatment expands additional options. Clicking on the blue “ + ” sign will add the treatment to that patient, and clicking on the blue “ - ” sign will remove it.
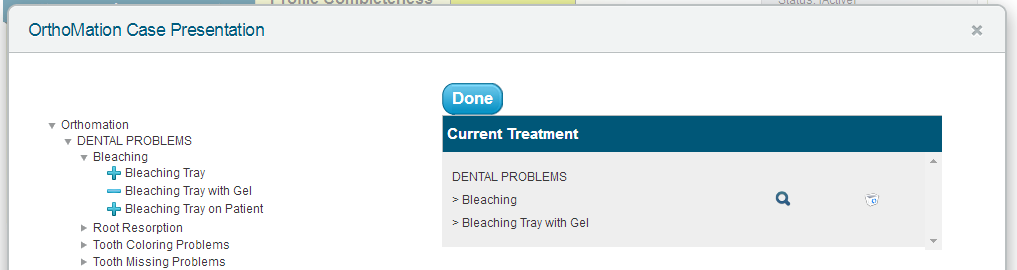
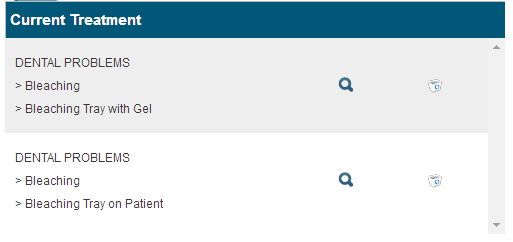
When you add a treatment, it will appear in the list on the right-hand side. If there are any visual elements, such as pictures or animations, you will see a magnifying glass icon that you can click to see the accompanying images. These are the images that patients will see in their Patient Pages.
Once you have selected all the OrthoMations you wish for this patient to see, click Done to save your changes. The assignments will be visible from the Patient Information tab.
Patient View
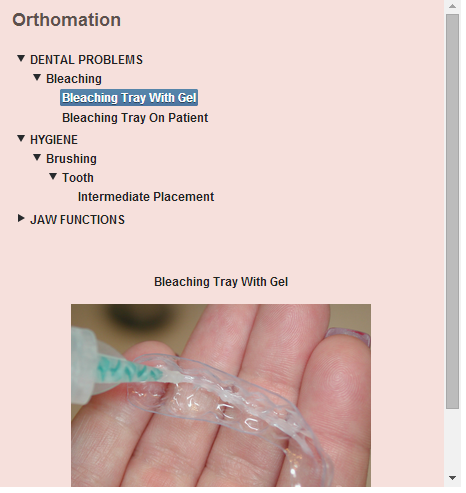
When patients log in to their Patient Pages, they can go to the My Smile tab see any OrthoMations that have been assigned to their account. Next to each treatment name, they can click on the arrow to expand that treatment, and see any related images or animations.
Members of our support team are available Monday through Friday, from 6:00 AM until 5:00 PM Pacific. You can reach us Toll Free at 888-416-8431.